Frequently Asked Questions About ACMER P1

1.1 In the TF card or U disk included in the package.

1.2 Or download it from our official website:go

2.1 Reselect the correct port. (tips: you can try all ports)

2.2 Baud rate selection: 115200

2.3 Close other software that occupies the port or opens repeatedly.

2.4 Check whether the data cable connection is normal.

The motor is shaking. The direction is opposite to the actual direction and there is
no response after power on.

3.1 First of all, please make sure that the wiring of the motor line or the motor terminal or the mother�board port is firm, whether there is loose phenomenon
or bad contact, which can be Re-power test.

3.2 Swap the motor, If there is still no response after replugging, test it after swap-ping the defective motor with the normal motor of the motherboard port . After the

test, make the motor fault judgment. (A. Motor line problem B. Drive problem C.

A:Motor cable issue: After confirming that the motor is ok, test it after swapping the defective motor cable with the normal motor cable of the motherboard port. If there is no issue, then it means the motor cable problem. If it still doesn't work, then check the driver.

B:Drive problem: Under the premise of confirming that the motor and the motor line are no problem, check the motor drive again. There may be a problem with the drive and a new drive needs to be replaced.

3.3Swap the motor cable on the main board . If it is Y-axis jitter, you can swap it with the good end (X-axis motor socket) . At the same time, the wiring on the motor also needs to be changed to the corresponding motor, and power on,Then move the motor to test .

Common problems and solutions for engraving machines: 1. Engraving is mis-placed, 2. Engraving patterns are reversed, 3. Engraving patterns are irregular.

4.1 The engraving misalignment is caused by the mismatch of software configura-tion parameters, which causes the engraving machine to run too fast .

Solution: Reconfigure the software parameters and run the engraving machine to see if it can return to normal. If it does not recover, it may be that the motor drive voltage does not match. Check the drive voltage with a multi-meter (the normal value of the X-axis drive voltage is 0.8V, Y The normal value of the shaft drive voltage is 1.4V.) The driving voltage adjustment method is as follows: Vref measures the intermediate voltage between GND and the volt-age meter. Rotate the potentiometer clockwise to decrease the current, and counterclockwise to increase the current.

4.2 The engraving pattern is reversed due to incorrect software configuration parame ters.

Method: Re-import LaserGRBL through the configuration file in TF card.

4.3 Irregular carving patterns are caused by machine assembly problems.

1. Please check whether the X axis of the engraving machine is parallel to the bottom frame and whether the bottom frame is parallel and the diagonal size.

2. Please check whether the X-axis laser head module shakes. If there is shaking, please adjust the eccentric nut of the POM wheel to ensure that the laser head module slides smoothly.

5.1 The focus position is wrong, adjust the focus according to the teaching video in the TF card, and then fine-tune the focus according to the actual situation.

5.2 The power value is set incorrectly, 1000 is the maximum power, reset the engraving power. You can manually input the command “M3 S1000” to test the laser intensity.

5.3 The engraving speed is incorrect, reset the speed.

Frequently Asked Questions About ACMER P2

1. Check if the laser module wiring is loose.

2. Confirm whether there is correct focusing, which can be assisted
by focusing gate to fix the focus.

3. Ensure that the engraving plane is flat and free of concavity.

4. Properly reduce the carving speed and increase the number of cuts, specific parameters can refer to the common carving parame-ters table.

1. Check whether the CH340 driver is installed on the computer, if not, please get the driver file from the TF card for installation.

2. Check if the correct port has been selected.

3. Replace the USB data cable and then connect.
4. Replace another computer to try.

5. Replace the motherboard.

1. First of all, when the machine is running, there will be some noise from the cooling fan of the laser set itself.

2. Check whether the table is flat.

3. Check whether the machine screws are loose or fall off.

4. Check whether there is a foreign body on the guide rail, you can remove the belt and slide the guide rail by hand to observe whether there is a jamming phenomenon, the conditions can add the right amount of lubricant to the guide rail.

1. Check whether the changeover switch is switched to "Y" axis
position.

2. Check whether the Y-axis motor wiring is loose at both ends.

3. If possible, use a multimeter to measure the output voltage of the
motor port on the main board.

Engraving machine guide slider for the carbon steel material, al-though its surface has been treated with anti-rust technology, but because the engraving machine is located in the work environment more smoke, so there is still the risk of rust, the normal recom-mended circumstances suggest that you clean the engraving ma-chine once (including laser module), while adding the right amount of lubricant to the guide for maintenance.

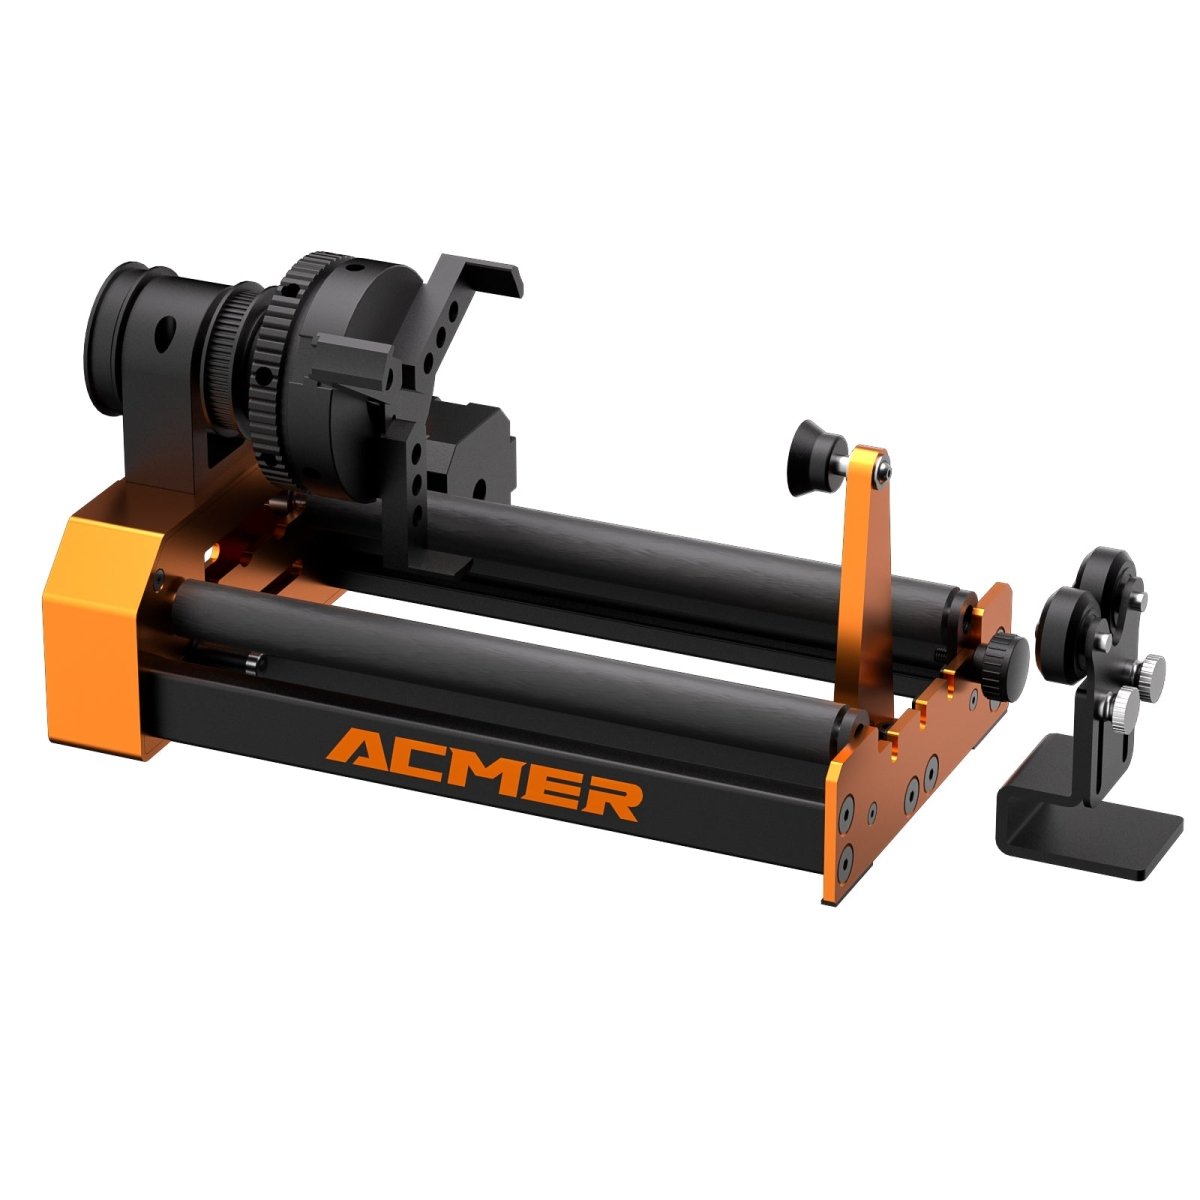
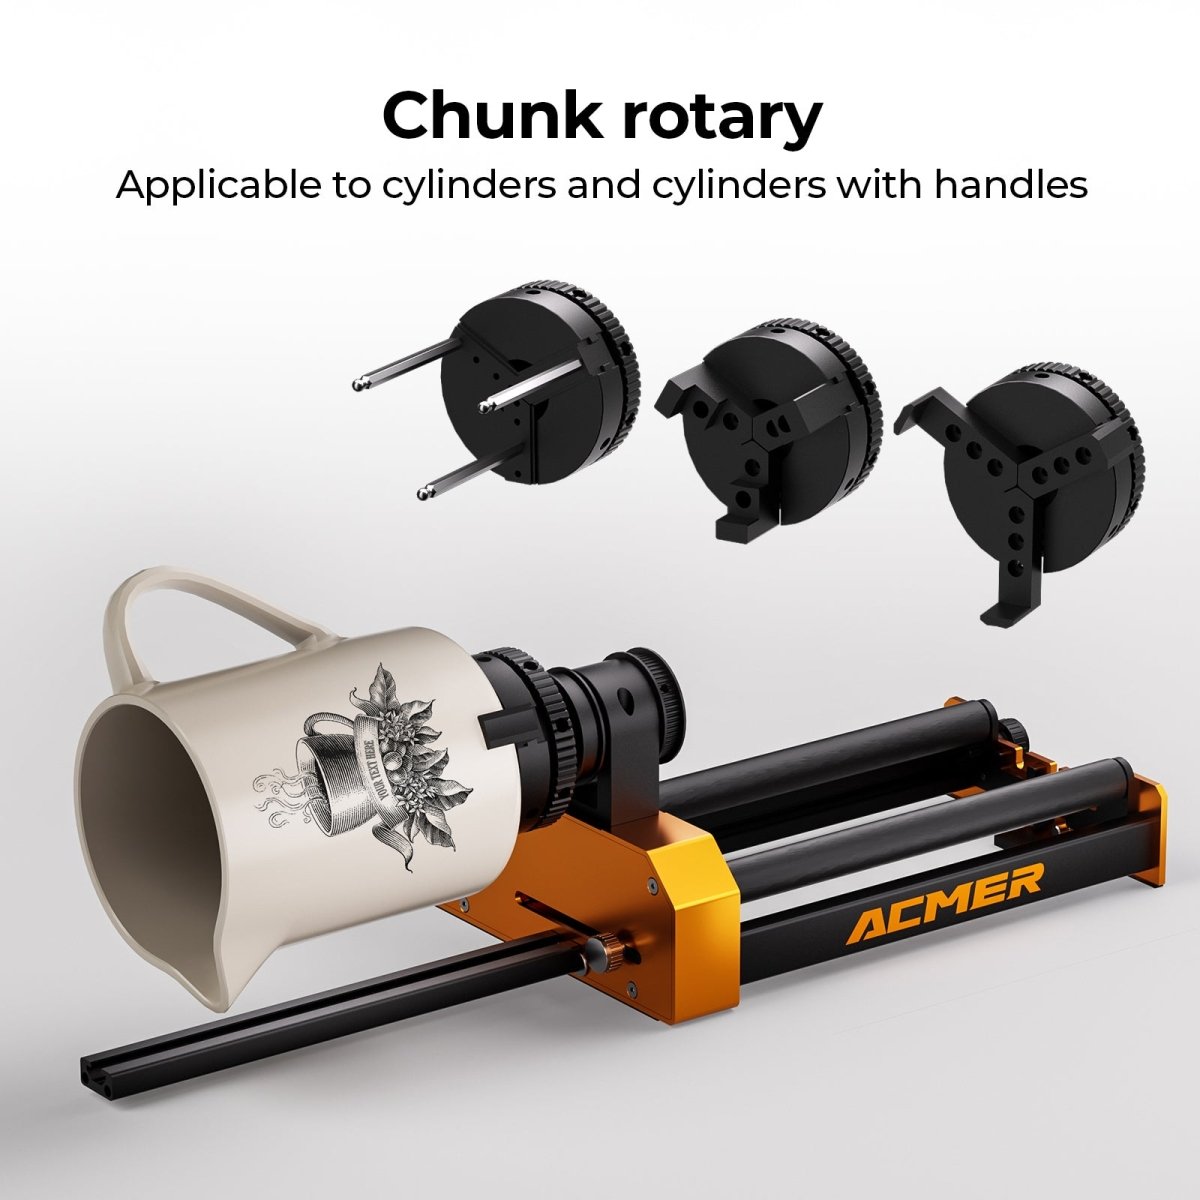
This switch is the rotary module switch. If the switch is toggled to the left, it is the ordinary engraving gear, and if the switch is toggled to the right, it is the rotary module gear. The rotary module can be directly connected to the socket with the label "RM" on the side.

First of all, it is necessary to ensure that the carving plane is flat, and then put down the focusing knife on the side of the laser module, loosen the knob screw to automatically lower the laser module, but when the focusing knife is connected to the carving plane, you can tighten the knob screw to fix it, and finally lift the focusing knife to start carving.

ACMER P2 engraving machine focal length is 50mm, theoretically cutting can reduce the focal length of the laser module, but in con-sideration of the difficulty of novice users, unified according to the same focal length for engraving and cutting, including the common engraving parameters in the table is also repeatedly tested with a focal length of 50mm.

Before engraving, you can perform a preview step and observe the preview border range in the expected area before engraving or cut-ting. (Matching image)

After installing the belt, twist the top wire on the tensioner to adjust the belt tightness, clockwise twist is to tighten the belt, counter-clockwise twist is to loosen the belt, the belt tightness on both sides of the Y axis needs to be consistent.

Although the laser module has a protective glass for filtering laser light, a small amount of blue light will spill out due to the user's ob-servation angle, so it is recommended that users wear protective laser glasses during use.

ACMER P2 engraving machine currently supports the mainstream laser engraving software in the market: LaserGRBL and Lightburn;
LaserGRBL supports Windows XP, 7, 8, 10 systems; Lightburn sup-ports Windows, Mac and Linux systems.

13.Can engrave transparent materials di-rectly. For transparent glass, you can engrave it after painting black or pasting engraving color paper on the glass surface; for transpar-ent acrylic, we suggest you to use a color pen to paint black before engraving.

The principle of laser engraving is through the burning of the material surface etching traces, so it will produce a certain amount of smoke, especially when cutting MDF board or wood board material smoke more, so we recommend that you place the engraving machine in a ventilated environment for use.

Just unscrew the air nozzle of the laser module and wipe the lens of the laser module with alcohol and cotton swab, and also clean the inner wall of the laser module profile properly.